


We finally posted our ((presumably)) most awaited series! We will be posting the DIYs from the previous post about budget-friendly picnic party. As we have mentioned before, many of the props for the party are DIY projects from recycled stuffs. There are some projects here so we will break them down to several posts that we will publish throughout the weeks.

When it comes to party or any special
celebration, it is nice to have pretty decoration to help liven up the
situation. Decor can also help filling the empty space or ‘separate’ one room
to another.
We know that preparing decor can be very time
consuming and messy. So, we thought why not make it simple? Especially because
our picnic party is held outdoor, it did not really need that much decor. The
place itself is quite nice with all the green and natural lights. So we came up
with the solution which is garland. It is very easy to be made and it brings
out party atmosphere. So, win-win! Yeay!

Tools and Materials:
Scrap paper, String, Double tape, Scissor,
Pen, Ruler, Thick cardboard
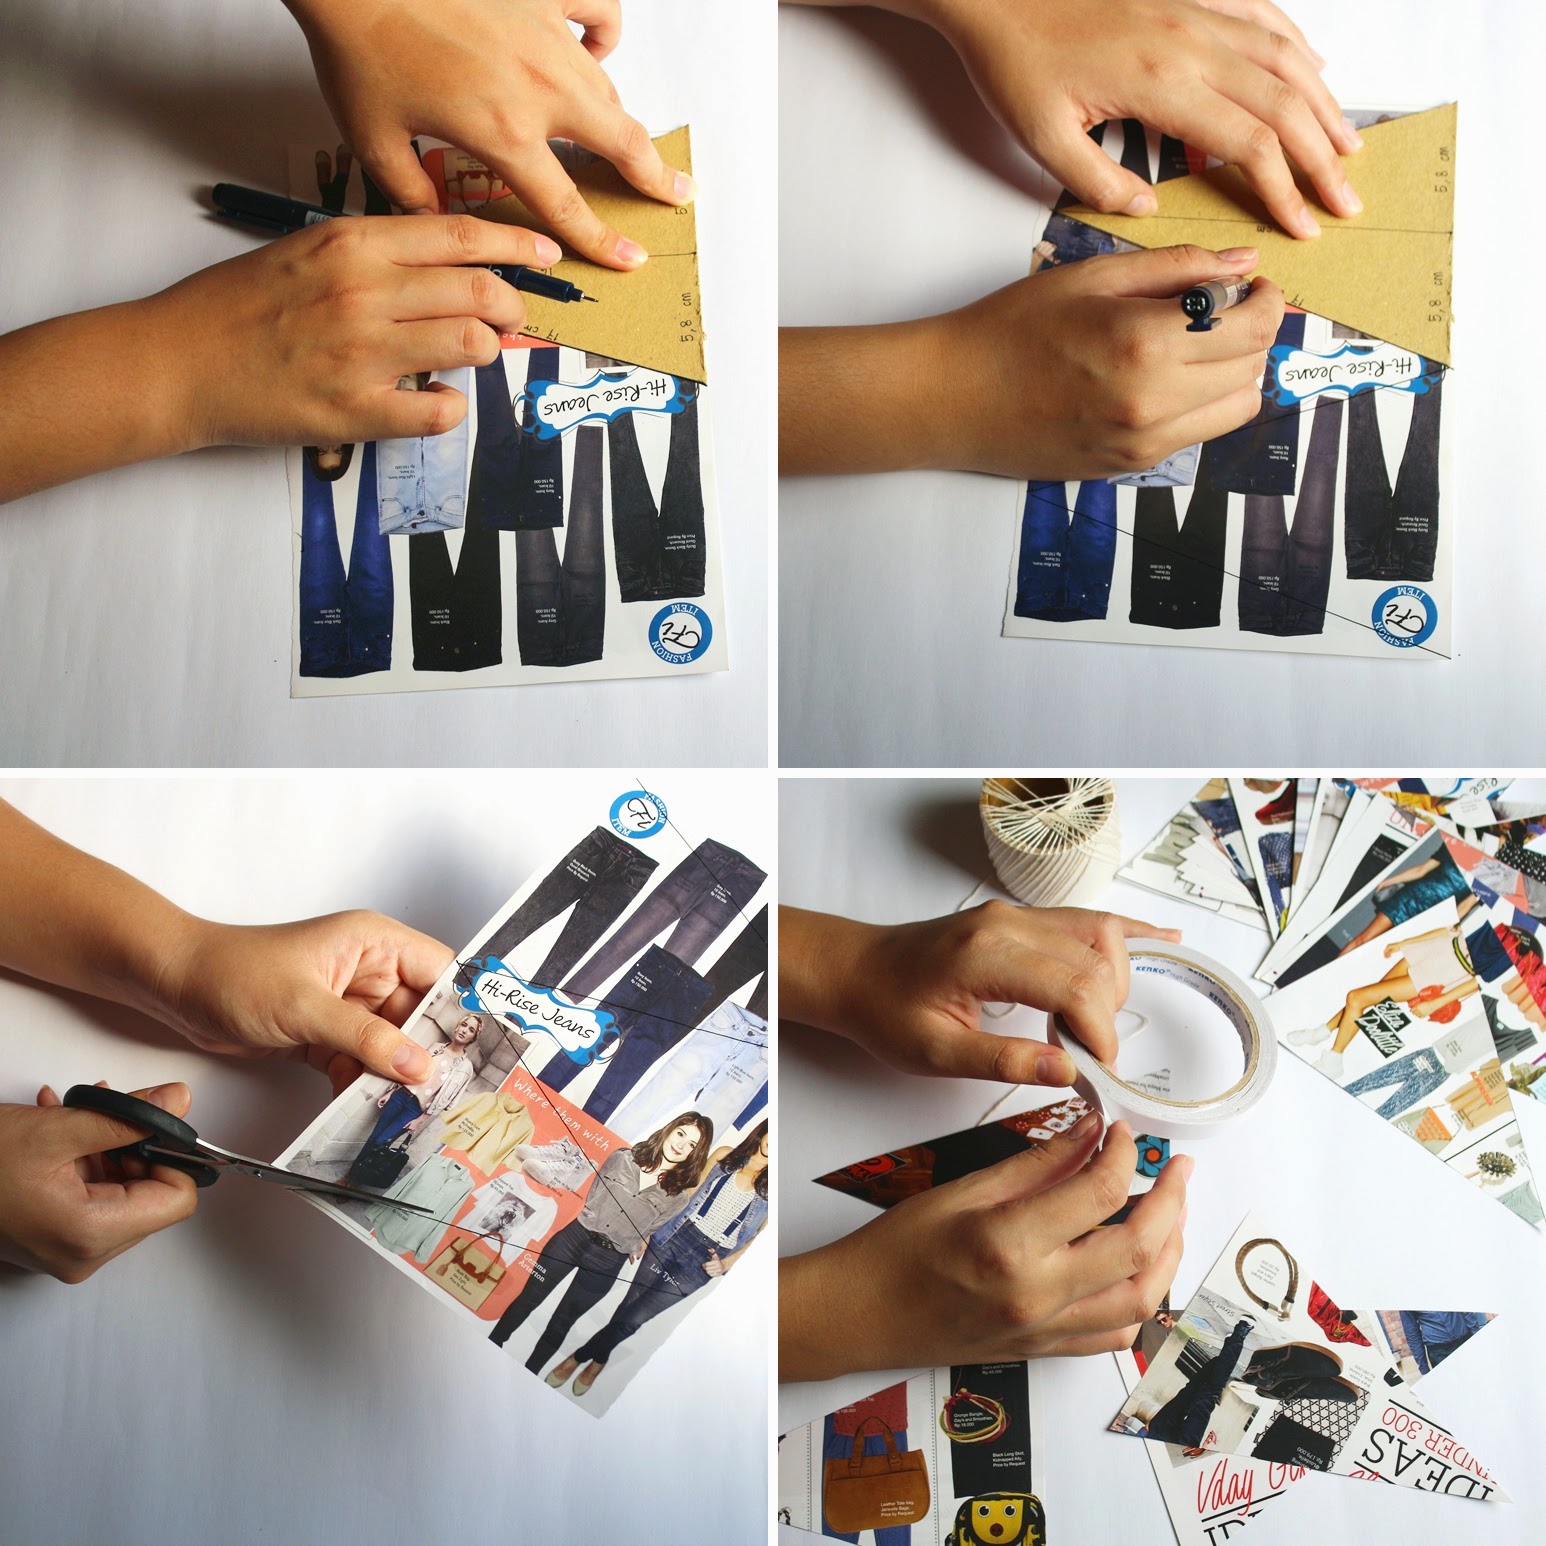
Steps:
1. Make a triangle based on your preferred size (ours is 11,6 cm x 16 cm) on the thick cardboard and cut it.
2. Trace your triangle on the scrap paper.
3. Stake two or three scrap paper and cut the triangles at once.
4. Tape the top side of the triangle with double tape.

5. You can put the tape along the line or on the beginning and the end of the line.
6. Open the tape and put the string on the top of it.
7. Fold the top to the inside so the string will be hidden between the papers.
8. Repeat step 4-7 and do it for the rest of the triangles. The number of the triangles and the length of the string really depend on the length of the garland that you need.

Yeey, cheers.
/Thanks to Sandra who helped us as a model
No comments :
Post a Comment